This post may contain affiliate links, read more…
So as you my remember we were a bit shocked at what new cabinets cost so I decided to give painting them a try. I figured what do I have to lose, we were going to get rid of these anyway, why not try and paint them. OMGosh I am so in love with how they turned out!! and I now what to chalk paint everything!
Here’s how it went
Even though I told my husband that they didn’t have to be sanded since I was chalk painting them he did anyway to be safe. So here they are all sanded down…
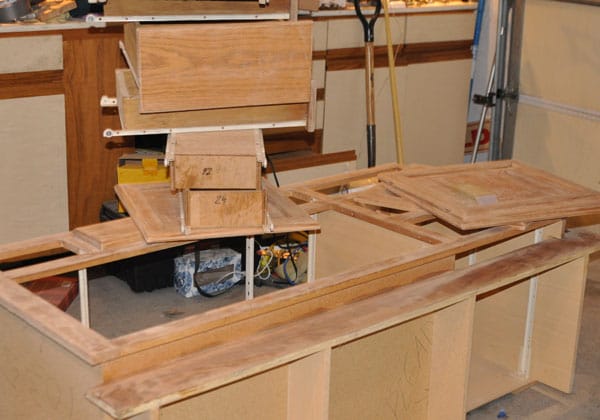
I used a DIY Chalk paint. I’m in love with the Anne Sloan paint but right now that is just not in the budget. So I found this chalk paint recipe on Lowes and used it to make the chalk paint. It was very easy and I am quite happy on how it adhered to the cabinets.
I mixed 1/3 cup of plaster of Paris and 1/3 cup of warm water and stirred it good. In my research I saw some recipes that called for warm and some for cold water. I just thought it mixed better with the warm. Then I mixed that with 1 cup of latex paint and stirred it until it was well mixed. This mixture covered all the cabinets twice and I still had some left over.
I first painted a dark brown paint for the base coat. Below is a photo of me painting the first coat.
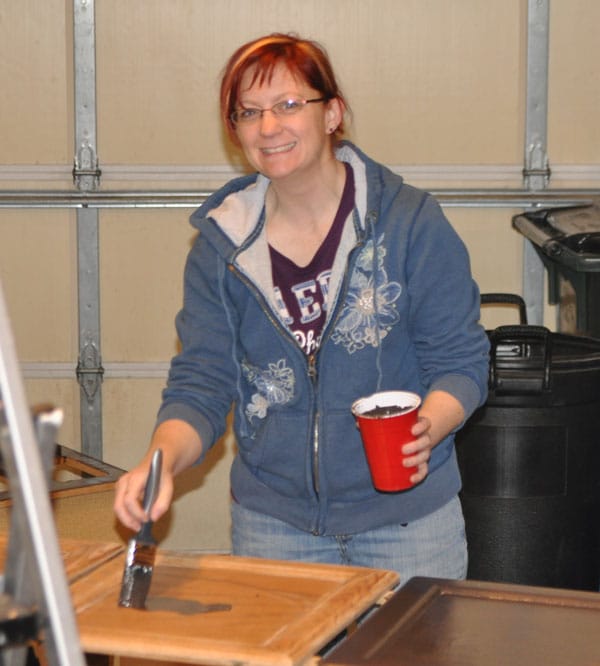
It was about 5 degrees out so luckily my brother-in-law had a turbine heater we could borrow for our garage. I only had it for a day so everything was done in a few hours! The paint was amazing to work with. And of course my dog had to come help 🙂
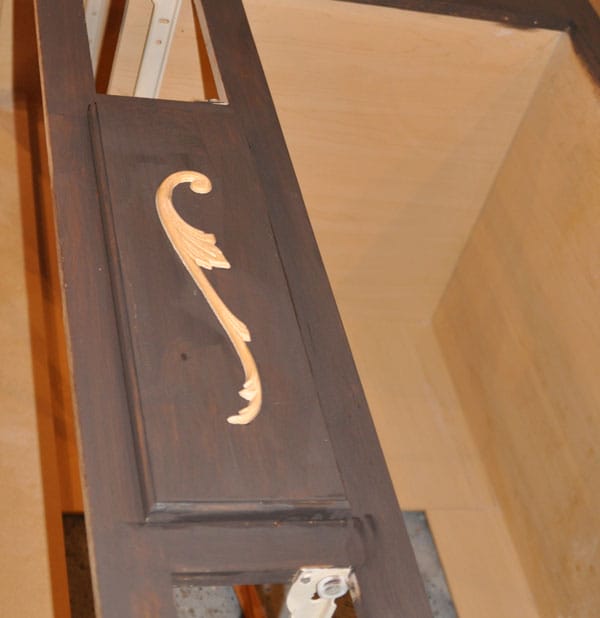
I got the first coat of dark brown on and then thought these ‘blank’ panels really needed something. I ended up taking a trip to Lowes and Micheal’s and didn’t find anything 🙁 Then I remember I had a stash from many many years ago in the basement that I had bought 15 years ago when I worked at Michael’s…lol So we glued those on.
Below is a photo with the second coat of lighter blue on.

Next I ‘destressed’ the cabinet by sanding down the blue.
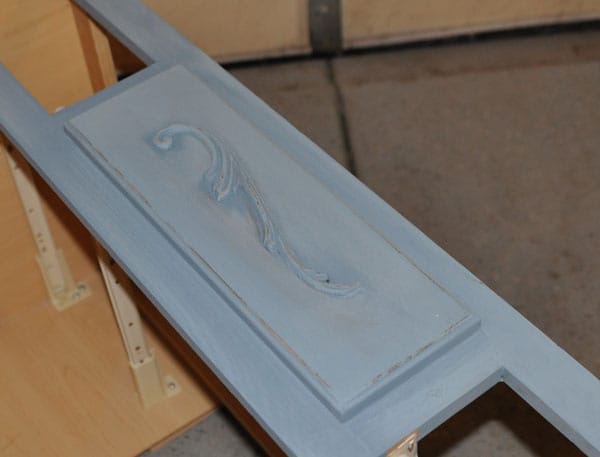
I was hoping for a more dramatic contrast so I decided to go over the whole thing with a dark glaze. I used one part of the darker brown and one part of translucent glaze. Brushed it on and then took a rag and removed some of it, and left it darker on the shapes.
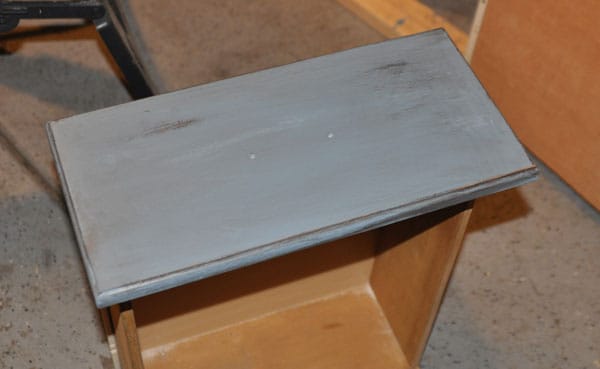
Now that they are in place I see a few touch ups I need to do, but I’m just in love with how these turned out, and how much money we saved by not buying new cabinets!
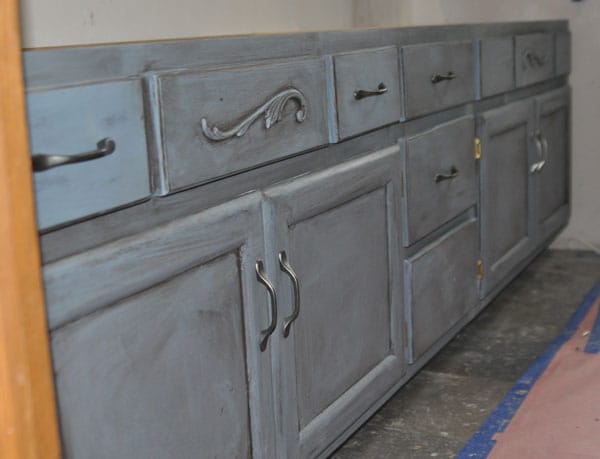
I read quite a few posts on wether to do a wax or poly finish. After weighing the pros and cons I decided I am going to put on a satin poly to help protect it since it will be in the bathroom. The Painted Vintage has a great blog post on the pros and cons of each.
All in all I only had to purchase the blue paint, and silly me bought a gallon. You need very little paint when you do the chalk paint. I’m not to upset over the extra paint though, I think this will be a great color for our garage entry, which is on my to do list over the bathroom.
So don’t be afraid, chalk painting is SOOO Easy and it’s made to be ‘rustic’ so you really can’t mess it up! Paint away!

Download your guide for free!
Learn how everyday products could be affecting your health and how simple swaps can lead to a cleaner, safer home.
Recent Posts
Share on Social

Grab your Free Gluten Free Recipe Pack
Discover 45 easy, healthy, and tasty recipes, including breakfast, lunch, dinner, treats and smoothies!
Recent Posts

Discover the Benefits of Non-Toxic Cleaning with FREE Norwex Samples — Request Yours Today!



Inspirational….. 🙂
[…] I decided to try out repainting the sink top and also chalk painting the cabinets. To check out the chalk paint method I use see this post. […]