This post may contain affiliate links, read more…
Summer vacation is here! We had a long road trip planned this year, Chicago to Myrtle Beach, so I’ve been looking at travel desks for the kids, but I just couldn’t bring myself to spend the $70 for 2 of them from Amazon. I browsed Pinterest for some DIY ideas and boy there were a ton of cute ones, but all of them needed some kind of sewing. I don’t have a sewing machine or the knowledge of how to sew so I got to brainstorming and thought about taking those ideas and merging them into a no-sew method.
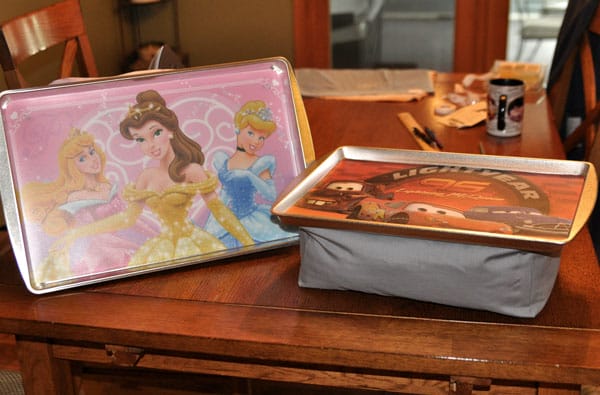
No-Sew Laptop desk
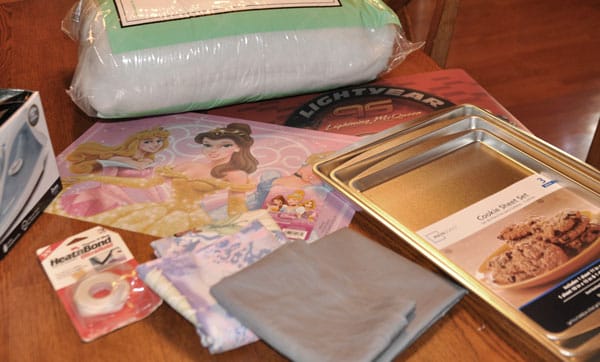
Materials needed:
- Cookie Sheet
- iron fuse
- pillow stuffing
- material
- foam board or other stiff board
- hot glue gun
- plastic placemat (optional)
- velcro (optional)
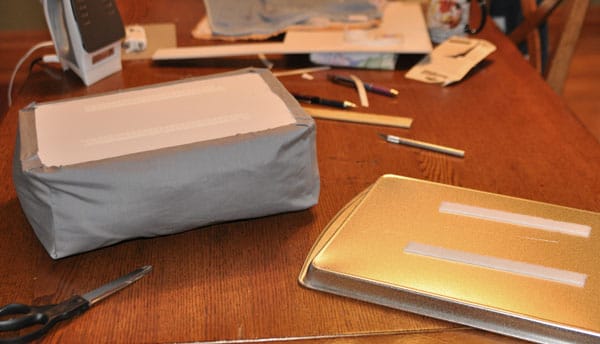
First I cut up a board to be about an inch smaller than the back of the cookie sheet. The board I used was leftover from an old coroplast sign, you can use any stiff board or cardboard for this.
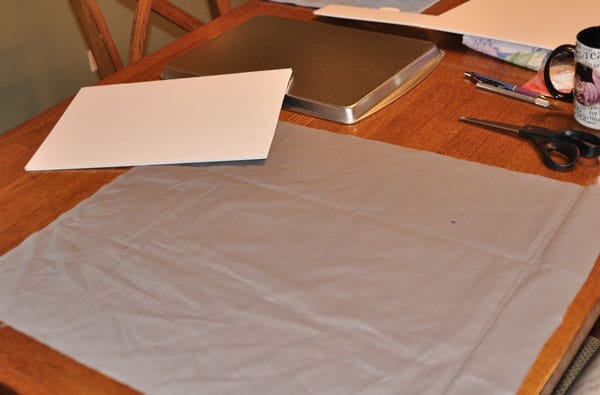
I also clipped the corners so they weren’t sharp.

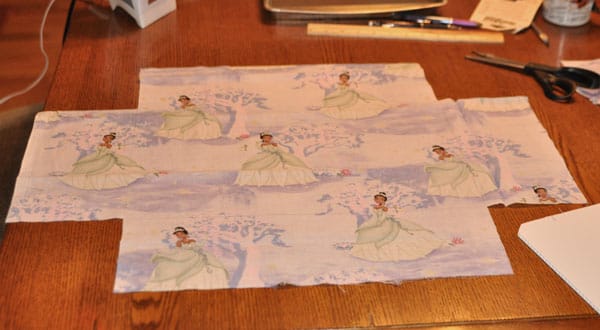
Then I took the material and cut it so it had the middle the size of the board plus 5″ flaps on all sides.
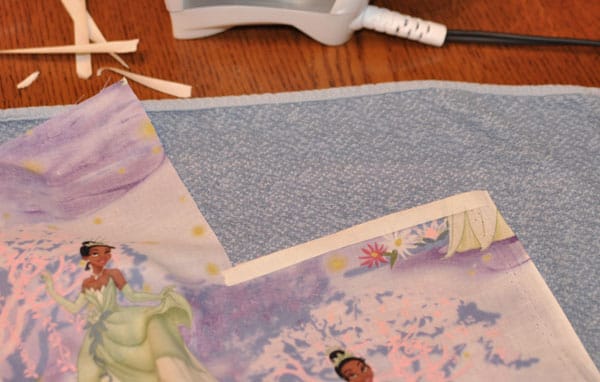
To ‘sew’ the sides together I used the iron fuse, and fused the corners together using the right sides of the material. The iron fuse is basically a glue that you apply by heating it with an iron.
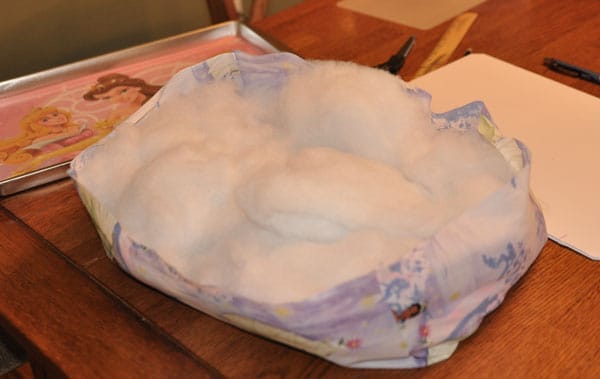
Then flipped the material inside out and stuffed it with the pillow filling. Placed the board on top and hot glued it together.
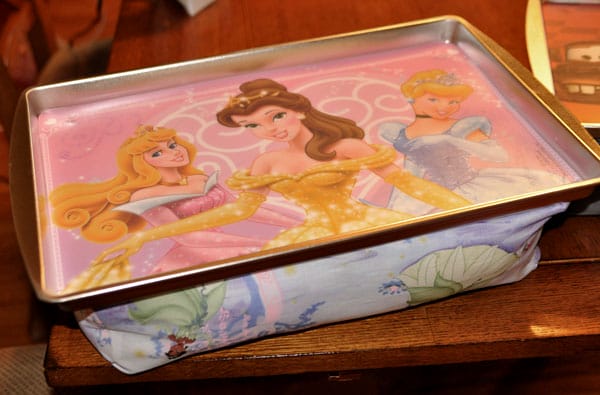
I used velcro to attach the tin cookie sheet to the pillow. My thought was at a later date I could add on a write-on board or they could flip the cookie sheet over if they wanted a flatter side or possibly something else.
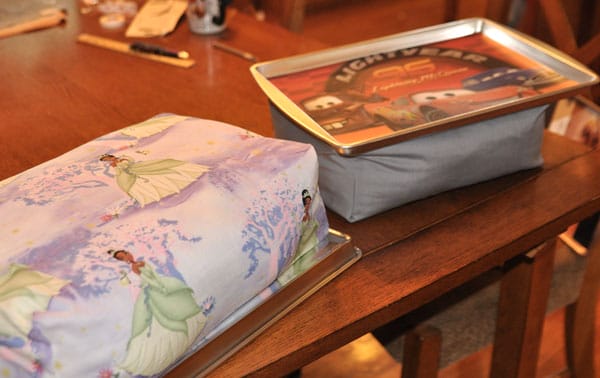
To finish it off I added a plastic placemat cut to size inside the cookie sheet with the hot glue. You don’t have to do this step but it comes in handy for food spills 🙂 Plus the kids liked them because they had Disney charters on them.
Overall these worked very well, and so much cheaper than the ones on Amazon. Since I used the fuse I wasn’t sure they were going to hold up, but they lasted all trip…14 hours each way! They were quick and easy too, I created them an hour before we left! Yep hubby was yelling at me for that one….lol
My cost for both was about $15 (I had some of the materials already).
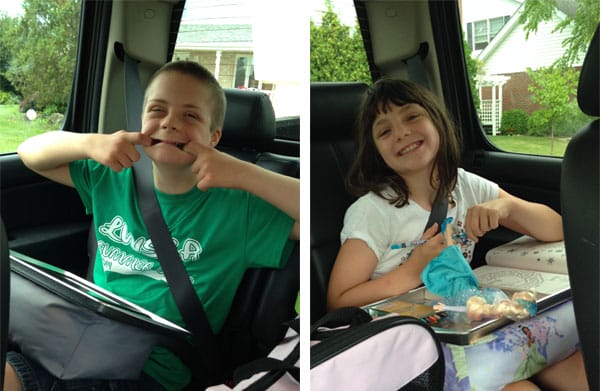
Here are the kids with using them, of course, my son had to make faces.


Download your guide for free!
Learn how everyday products could be affecting your health and how simple swaps can lead to a cleaner, safer home.
Recent Posts
Share on Social

Grab your Free Gluten Free Recipe Pack
Discover 45 easy, healthy, and tasty recipes, including breakfast, lunch, dinner, treats and smoothies!
Recent Posts

Discover the Benefits of Non-Toxic Cleaning with FREE Norwex Samples — Request Yours Today!


You can also use it to play games like checkers..add magnets to one side of the chip and there you go.
yep… there are all kinds of ‘add-ons’ I’ve been thinking about 🙂
You are so crafty!
So Cute, going to have to try this!!
Wow! This is such an incredible idea Jen. I would love to have these for my kids on road trips. Although I’m not very crafty, you gave super easy to follow instructions. This is so awesome. I LOVE IT!
Ok so how much fabric is needed? I want to make one but I just need to know how much fabric I would need to make this.
It depends on how big of a sheet pan you use, so I would make it the size of the pan plus 5 inches 🙂