This post may contain affiliate links, read more…
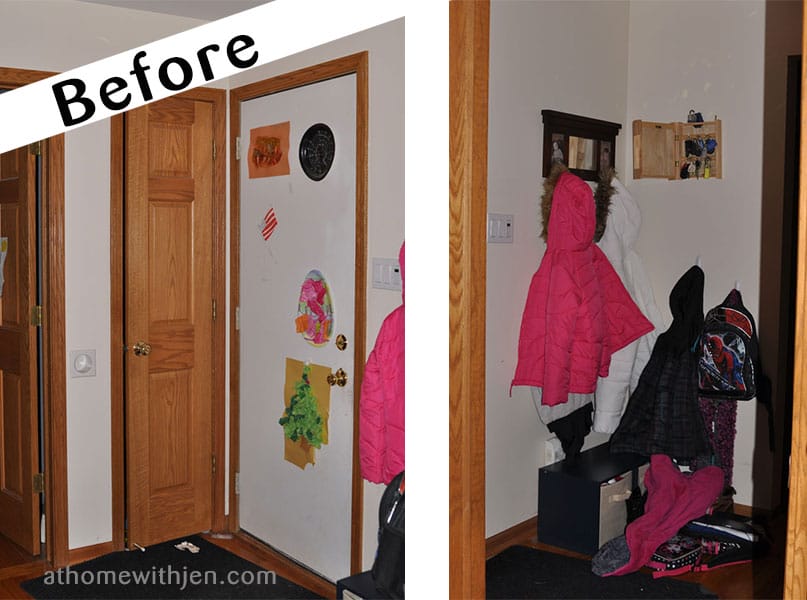
The back entry to our house has been an eye sore pretty much since we moved in, but well it’s in the back of the house and you really only see it if you enter the house through the garage or if you go to my home office so this project has been on the back burner for a bit. I install the little command hooks when we moved in and the kids were much smaller then, it’s been 5 years since then and their coats really don’t fit on those hooks anymore, not to mention there wasn’t enough for 4 coats, 3 back packs, shoes, keys and extras! I pretty much got tired of tripping over crap on the floor every time I went to my office so it was time to tackle this back entry project!
After spending many hours searching Pintrest for ideas I came up with a plan. Click here to see my inspiration board. I knew I wanted something that the shoes would fit under but I also needed a little storage for hats, gloves, etc. I also wanted lots of hooks so crap wasn’t all over the floor… gah that has been a pet peeve of mine for this area for the past 2 years. It was driving me crazy!
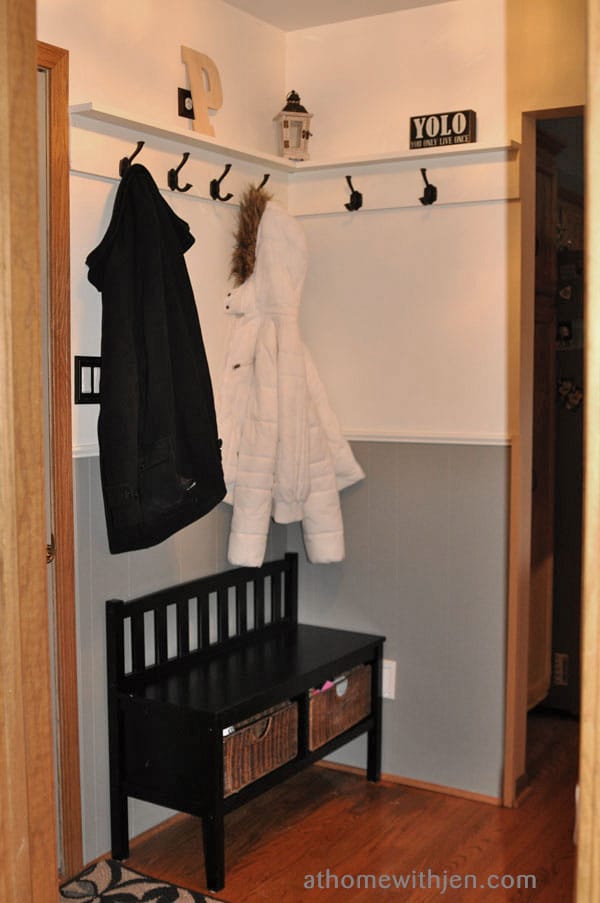
We ended up putting some paneling up to add some character. Hint: don’t buy laminated paneling if you want to paint it… we didn’t realize we did this until we got home and tried painting it. It took a few coats but we did get it to work. We also added a wood backing up top so that we could add all the hooks and they wouldn’t pull from the drywall. The little shelf on top added some more character and also a place to put some decor. Below is a pic of hubby working on it… so happy I talked him into finally working on this area with me 🙂
I also gave the whole area a paint fresh up and painted the door. Looks so much more finished now.
I looked forever for a bench to fit in this area. The wall was shorter than most of the hall trees or benches I liked, but then I finally found this one on Amazon. I ended up going with the black because at the time it was the cheapest color, and well we really didn’t have a budget for this project.
You can see in the photo below, hubby also put an outlet up on top for me. I have plans to make a lighted sign for this shelf… I just still have to make it.
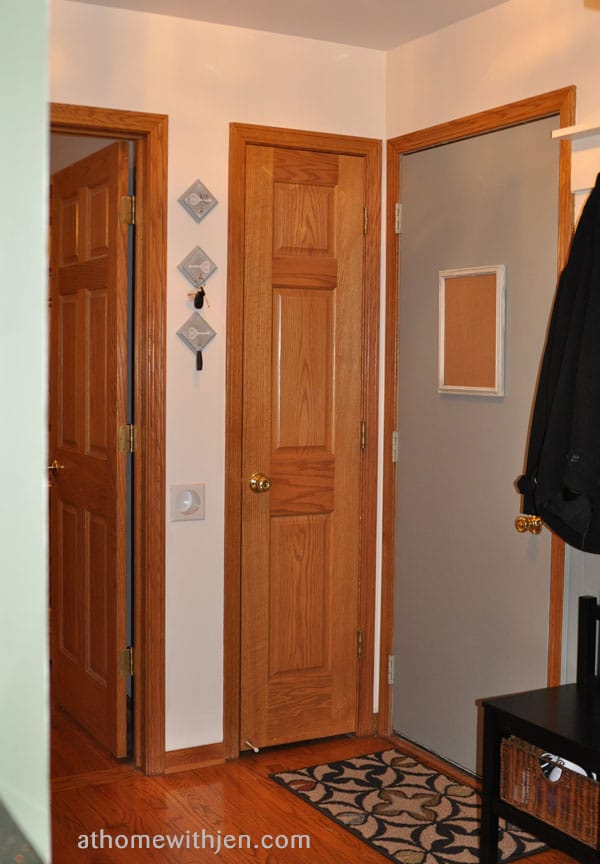
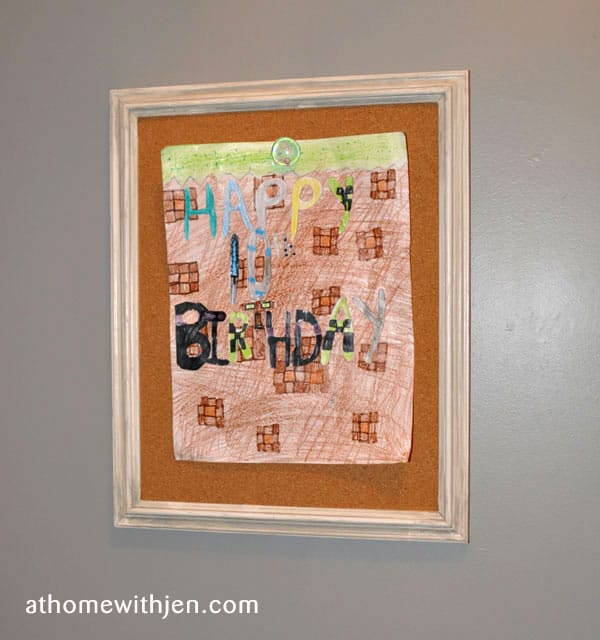
On the door to the garage I made this cork board frame. You might have noticed in my before photo the door was covered with my daughter’s artwork, she loves hanging it all over. It just kinda looked messy before, so I made this cork board frame so that we can rotate out the artwork. Below you can see we had some Minecraft Birthday theme artwork up for her birthday celebration 🙂
The frame is one I just had in the basement and I chalk painted it with the same color the walls were and then glazed it with the same color as the door. It’s attached to the door with some command picture strips.
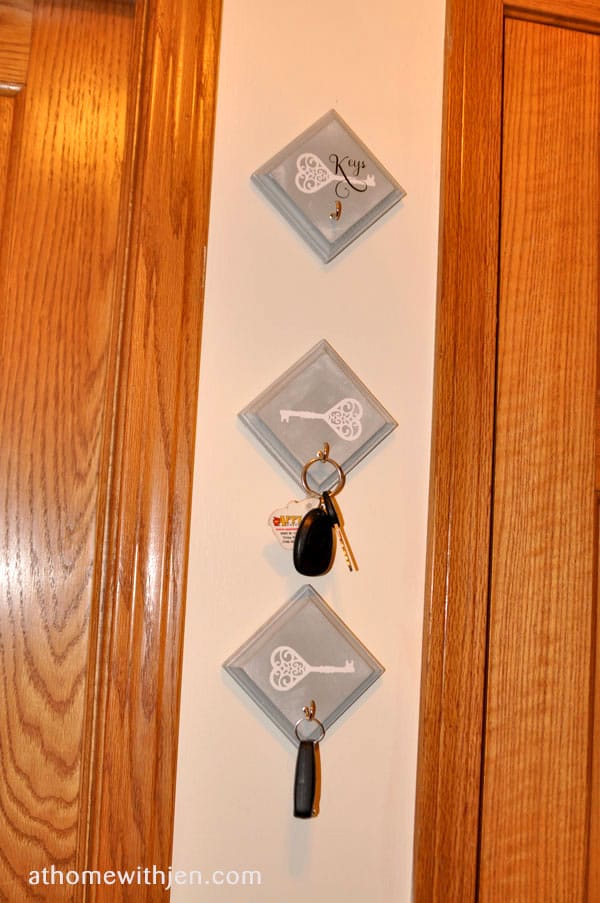
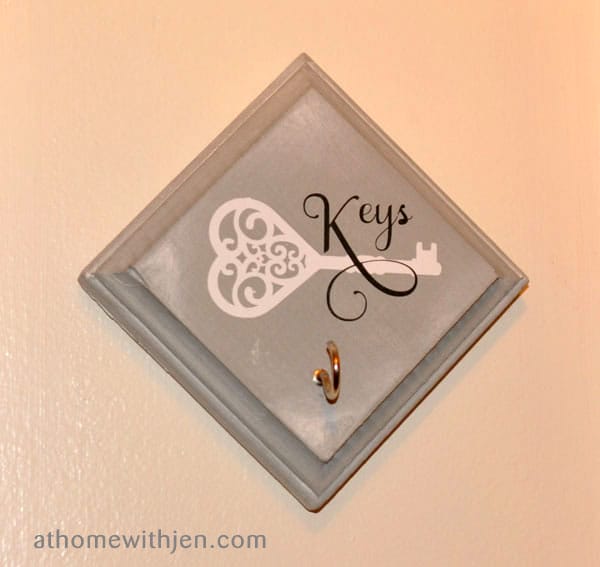
There is a small strip of wall between my office door and the broom closest that was pretty useless… until I made these little key holders. They are wood blocks from Michaels, painted with the same color as the garage door and glazed with the wall color. I then placed some cup hooks on them and finished them off with some vinyl cutouts.
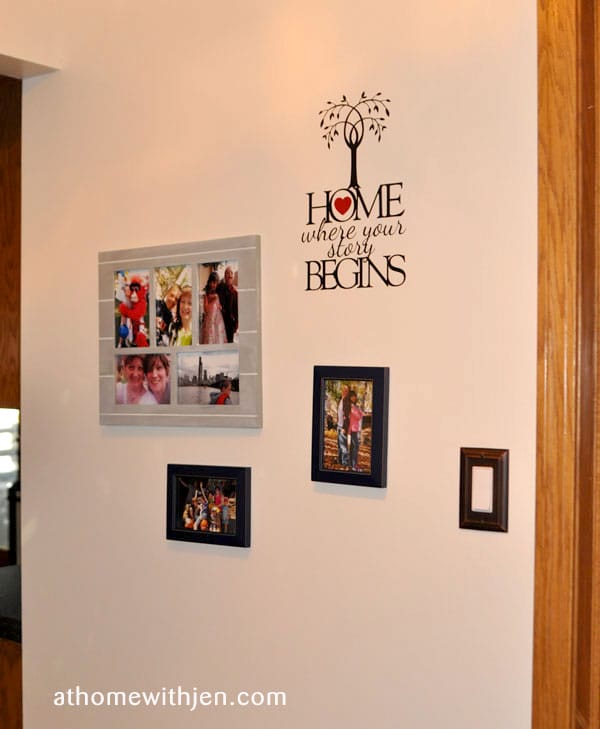
The other wall was decorated with some frames I had around and I also made a vinyl cut saying for the wall. We also added some nice bronze plates for the light switches.
I am so please with how this turned out and SO happy that I am not tripping on stuff as I walk by everyday.
For more organizing tips check out this post from top reveal.

Download your guide for free!
Learn how everyday products could be affecting your health and how simple swaps can lead to a cleaner, safer home.
Recent Posts
Share on Social

Grab your Free Gluten Free Recipe Pack
Discover 45 easy, healthy, and tasty recipes, including breakfast, lunch, dinner, treats and smoothies!
Recent Posts

Discover the Benefits of Non-Toxic Cleaning with FREE Norwex Samples — Request Yours Today!




Your back entry looks fabulous! Your husband did a great job and your bench is cute! I really like the black bench with the baskets. I love that you used an inspiration board for your back entry project! Great job!
Great inspiration here! I’m going through this same dilemma with our back entry door mudroom. I just don’t even know where to begin on this one. I think I’ll be using some of your ideas. Yours turned out great!
Thanks for linking up with us at the Momma Told Me Link party!
`Jen
Awe Thanks! and thank you for hosting such a great Link Party!